URL monitoring made easy: self-hosted open-source tool for checking your website availability

Every website which gives a value to its visitors deserves to be online maximum possible amount of time. However world of technologies involved in web sometimes is not so predictable and brings circumstances which make website or certain URL unavailable. Of-course each such accident should be analyzed properly and fixed to never happen in future. But here we will concentrate on a best practice which reduces actual downtime of accident.
This best practice is called website monitoring, or also known as URL monitoring or HTTP status code check. The principle is very simply: you have to set up some independent monitoring service which simply does HTTP requests to a defined URL on your website repeated with a defined interval. For example you can make request to https://example.com every 10 seconds. After every request monitoring tool analyzes whether Status Code field in HTTP response is 200 or check whether some word exits in response. If it does not, then monitoring tool must rapidly notify Developer with some Urgent channel of communication (unmuted chat in Slack, Telegram, Email, SMS, and so on).
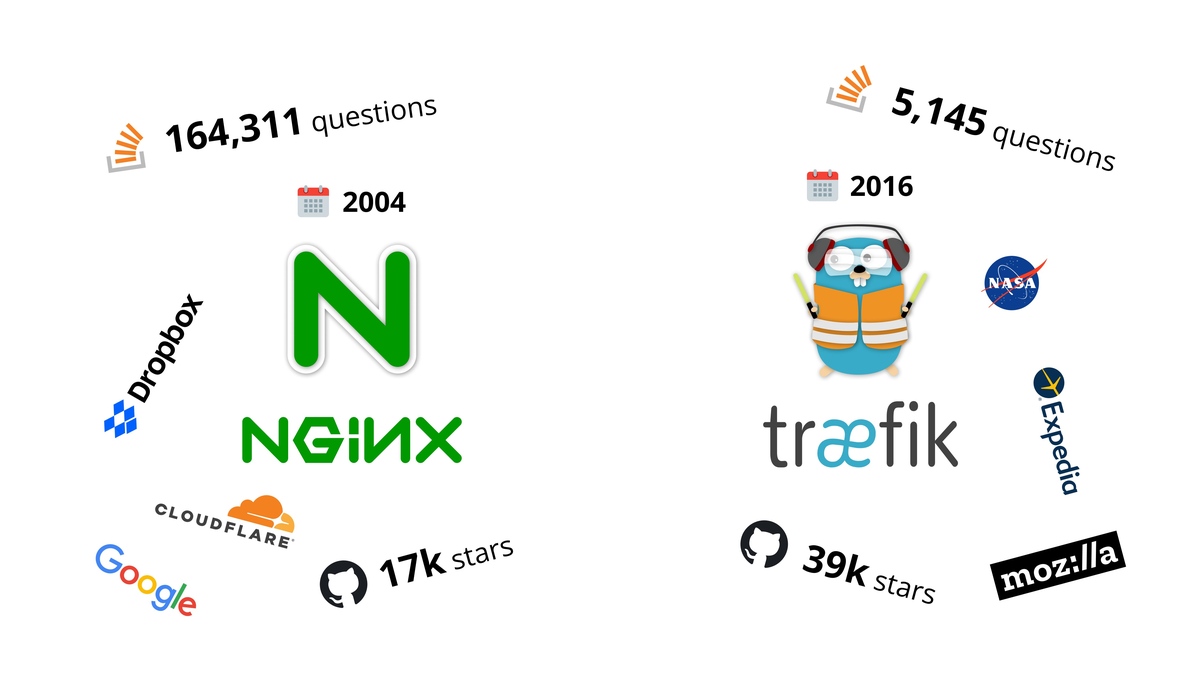
Well-known simplified solutions to this problem are SaaS services like UptimeRobot, Freshping, Site24x7, Uptime.com etc. have pretty straightforward UI and make monitoring checks from own servers. However they all are pretty limited on free plan, for example allow you to monitor limited number of URLs or have very long monitoring interval (for example not faster then once per 5 minutes). Also they have all other drawbacks of typical SaaS product like requirement to manage billing & invoicing, closed code, vendor-dependency.
From other hand, there are complex multi-functional self-hosted free tools like Nagios or Zabbix, however they require some qualification from developers and for example have no notifications out of the box, so it requires a lot of steps and time searching how to setup whole system, so in the end a lot of developers just give up and leave their site without HTTP monitoring or leave it for a "better day".
Here we will show absolutely simple free and open-source HTTP URL monitor called HotHost. The idea of HotHost to allow even unprepared developer to setup monitoring in a couple of minutes.
First of all you should install HotHost Web to some of your own VPS server. Basically you just need to run one docker container on any VPS server with public IP address:
apt install docker.io

mkdir -p /www/hothostdata

docker run -d --name=hothost-web \
  -v /www/hothostdata:/var/lib/hothost/data/  \
  --env HOTHOST_WEB_ADMIN_USERNAME=admin  \
  --env HOTHOST_WEB_ADMIN_PASSWORD=!!!CHANGE_ME!!!  \
  --restart=always  \
  --env HOTHOST_WEB_PORT=8000  \
  -p 8007:8007  \
  devforth/hothost-web
Then web interface will be already available on http://<server_ip>:8000, however we recommend to setup SSL and always use HTTPS to encrypt your connection. There are a lot of simple ways to do it, for example set Traefik + free Letsencrypt certificate on some domain or subdomain, or even simpler - just put Cloudflare CDN in front of HotHost server, like described in the HotHost easy setup Guide (Read everything before Adding an Agent section).
Now when you have HotHost installed just go to Http/Https monitoring tab and click Add new host:

Default settings are enough for most websites, so you are good to press Submit and monitoring will start instantly. You can add as many URLs as you need. For a lot of websites even one landing page is a good indicator because landing page issue covers a lot of potential issues with other pages too.
Monitor interval determines how often monitor makes requests and as a result defines how fast will you get notification in case of emergency. For example value of 10 second will allow you to understand that URL has an issue in first 10 seconds, however there will be 6 times more requests then if you would use 1 minute interval. Normally it is always enough to have a half of a minute interval.
Optionally, if a website has a private zone protected by basic authentication you can use Enable basic auth option and specify basic login and password:

If you want to perform checks against response body content you can use Keyword exists or Keyword not exists monitor types:

The keyword check works for plain HTML responses and JSON responses as well.
Now it is time to setup Notification which will wake you up and and allow you to fix an issue faster.
Go to Settings -> Plugins, and select preffered way to receive notification


For now there are four options, but we intentionally implemented notifications as NodeJS plugins because we understand that you might need other options to get notified. Feel free to leave a request with needed plugin or provider in HotHost issues and we will implement most popular options for you.
Already implemented plugins are created for free services, so you can use them instantly. For each plugin there is a short but complete guide how to configure notification from scratch, for example for Telegram Guide contains all steps to create a bot in BotFather and copy it's token:

After entering Telegram token or other plugin setting just click Save Settings and you are done.
After setup we also recommend to stop your web server intentionally for one minute to test monitoring is active and alert messages are delivered to you.

Take care of yourself and your websites.